Description
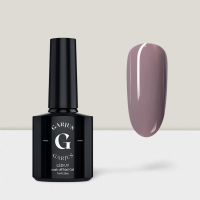
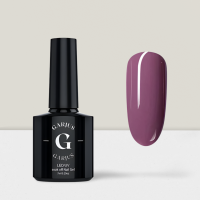
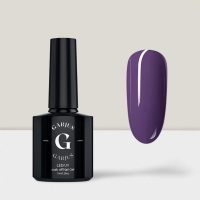
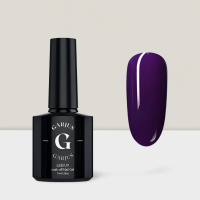
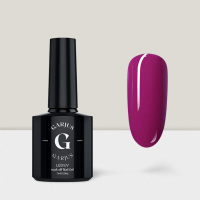
Bold and long-lasting With Bean Paste Purple 048
Bean Paste Purple is the perfect balance of sophistication and fun. The shade is deep enough to be bold, yet subtle enough to work in a professional setting. It’s a shade that will get you noticed in the best way possible. Here are three reasons why you should add this Nail Gel Polish to your collection:
Bold and Playful
The rich colour is both fun and daring. It’s a shade that exudes confidence and playfulness, making it the perfect choice for a night out or a casual weekend brunch.
Professional and Sophisticated
While the colour may be bold, the subtlety of the shade makes it suitable for professional settings. The Nail Gel Polish is the perfect choice for a boardroom meeting or a networking event.
Durable and Long-lasting
Our Bean Paste Purple Nail Gel Polish is made with high-quality ingredients that ensure long-lasting wear. With this polish, you won’t have to worry about chipping or fading for up to two weeks.
How To Apply Uv/Led Nail Gel Polish
If you want salon-quality, long-lasting manicures, UV/LED nail gel polish is your go-to option. Achieving a professional finish at home is easier than you think. Follow these steps for a flawless gel polish application:
Materials You’ll Need:
- UV or LED nail lamp
- Garjus UV/LED gel base coat
- Garjus UV/LED gel colour polish
- Garjus UV/LED gel top coat
- Nail file and buffer
- Alcohol-based nail cleanser or rubbing alcohol
- Cuticle pusher
- Nail primer (optional)
- Nail polish remover
- Cotton balls or pads
Step 1: Prep Your Nails Start with clean, dry nails. Use nail polish remover to eliminate any residue from previous polish. Push back your cuticles gently with a cuticle pusher. Shape your nails using a file and smooth the surface with a buffer for better adhesion.
Step 2: Apply Primer (Optional) For some brands, applying a nail primer before the base coat can enhance adhesion and extend wear. Check your gel polish instructions to see if this step is recommended.
Step 3: Apply the Base Coat Apply a thin layer of UV/LED gel base coat to each nail, making sure to cap the free edge (the tip) of your nails. This helps prevent chipping. Avoid getting the base coat on your skin. If any gel gets on your skin, wipe it off before curing.
Step 4: Cure Under the Lamp Place your nails under a UV or LED lamp for the recommended curing time. Typically, LED lamps cure in 30-60 seconds, while UV lamps take 2-3 minutes. Refer to your gel polish instructions for precise times.
Step 5: Apply the First Layer of Color Apply a thin layer of your chosen UV/LED gel color polish. Be precise and avoid contact with your cuticles and skin. Cap the free edge. Cure the polish under the lamp for the recommended time.
Step 6: Apply Additional Layers (If Necessary) For some lighter shades, you might need a second coat for full opacity. Apply another thin layer, cure it, and repeat if necessary.
Step 7: Apply the Top Coat Apply a thin layer of UV/LED gel top coat, ensuring you cap the free edge as well. Cure it under the lamp for the recommended time.
Step 8: Remove the Sticky Layer After curing the top coat, you might notice a sticky layer on your nails. Don’t worry; this is normal. Soak a cotton ball or pad in alcohol-based nail cleanser or rubbing alcohol and wipe each nail to remove the sticky residue. Your nails will be left with a glossy finish.
Step 9: Moisturise Your Cuticles Apply cuticle oil or moisturiser to nourish your cuticles and surrounding skin.
Your UV/LED gel polish manicure is now complete! Enjoy chip-free, long-lasting, and glossy nails for up to two weeks. Remember to always follow the instructions provided by your specific gel polish brand for the best results.
Additional information
| Colour |
|---|
Related products
-
Quick View
- Add to basket
- £4.50 inc VAT & Free Delivery
Transparent Purple 051
-
Quick View
- Add to basket
- £4.50 inc VAT & Free Delivery
Hemerocallis Yellow 010
-
Quick View
- Add to basket
- £4.50 inc VAT & Free Delivery
Grandma Ash 033
-
Quick View
- Add to basket
- £4.50 inc VAT & Free Delivery
Indigo 023
-
Quick View
- Add to basket
- £4.50 inc VAT & Free Delivery
Grass Green 036
-
Quick View
- Add to basket
- £4.50 inc VAT & Free Delivery
Foggy Green 030
-
Quick View
- Add to basket
- £4.50 inc VAT & Free Delivery
Lilac 031
-
Quick View
- Add to basket
- £4.50 inc VAT & Free Delivery
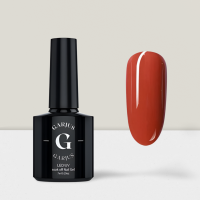
Terracotta 032
-
Quick View
- Select options
- £4.50 inc VAT & Free Delivery
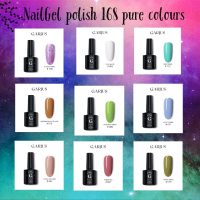
Nail Gel Polish 168 Pure Colours LED UV Nail Art 7ml – Garjus
-
Quick View
- Add to basket
- £4.50 inc VAT & Free Delivery
Ink Blue 024
-
Quick View
- Add to basket
- £4.50 inc VAT & Free Delivery
Dirty Orange 025
-
Quick View
- Add to basket
- £4.50 inc VAT & Free Delivery
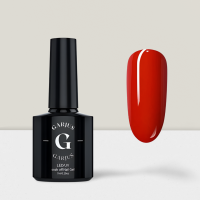
Big Red 001
-
Quick View
- Add to basket
- £4.50 inc VAT & Free Delivery
Mustard Yellow 021
-
Quick View
- Add to basket
- £4.50 inc VAT & Free Delivery
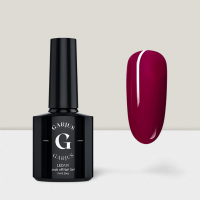
Aunt Red 052
-
Quick View
- Add to basket
- £4.50 inc VAT & Free Delivery
Matcha Green 009
-
Quick View
- Add to basket
- £4.50 inc VAT & Free Delivery
Brick Red 006
-
Quick View
- Add to basket
- £4.50 inc VAT & Free Delivery
Healthy Jelly 055
-
Quick View
- Add to basket
- £4.50 inc VAT & Free Delivery
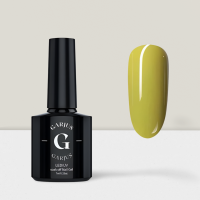
Bright Yellow Green 050
-
Quick View
- Add to basket
- £4.50 inc VAT & Free Delivery
Succulent Grapes 012
-
Quick View
- Add to basket
- £4.50 inc VAT & Free Delivery
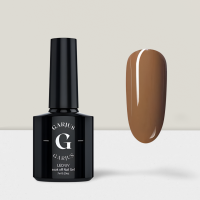
Brown 004
-
Quick View
- Add to basket
- £4.50 inc VAT & Free Delivery
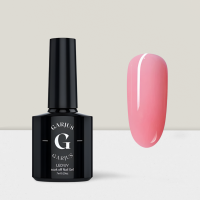
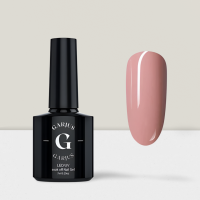
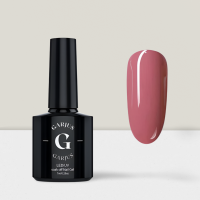
Flesh Pink 026
-
Quick View
- Add to basket
- £4.50 inc VAT & Free Delivery
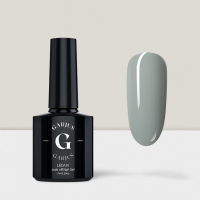
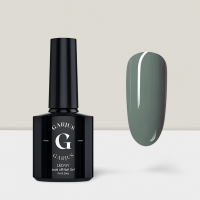
Elegant Gray Green 037
-
Quick View
- Add to basket
- £4.50 inc VAT & Free Delivery
Prune Purple 039
-
Quick View
- Add to basket
- £4.50 inc VAT & Free Delivery
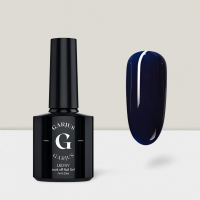
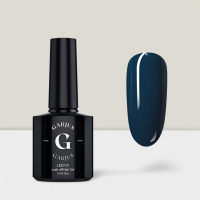
Dark Blue 042
-
Quick View
- Add to basket
- £4.50 inc VAT & Free Delivery
Lotus 049
-
Quick View
- Add to basket
- £4.50 inc VAT & Free Delivery
Wheat Yellow 043
-
Quick View
- Add to basket
- £4.50 inc VAT & Free Delivery
Berry 041
-
Quick View
- Add to basket
- £4.50 inc VAT & Free Delivery
Transparent Black 022
-
Quick View
- Add to basket
- £4.50 inc VAT & Free Delivery
Bean Paste 057
-
Quick View
- Add to basket
- £4.50 inc VAT & Free Delivery
Azur 035
-
Quick View
- Add to basket
- £4.50 inc VAT & Free Delivery
Deep Bean Paste 017
-
Quick View
- Add to basket
- £4.50 inc VAT & Free Delivery
Morning Glory 054
-
Quick View
- Select options
- £3.95 inc VAT & Free Delivery
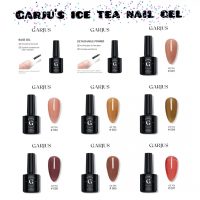
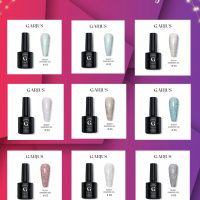
Ice Tea Nail Gel Nail Art Mixed Colour UV Nail Gel Polish 9 Colours – Garjus
-
Quick View
- Add to basket
- £4.50 inc VAT & Free Delivery
Grey Forest 034
-
Quick View
- Add to basket
- £4.50 inc VAT & Free Delivery
Plum 016
-
Quick View
- Add to basket
- £4.50 inc VAT & Free Delivery
Cosmetic 013
-
Quick View
- Select options
- £3.95 inc VAT & Free Delivery
Nail Polish Gel Flash Diamond Micro Drill Nail Glue Diamond Crusher 9 Colours – Garjus
-
Quick View
- Add to basket
- £4.50 inc VAT & Free Delivery
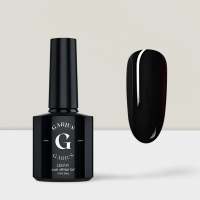
Pure Black Nail Gel Polish 003
-
Quick View
- Add to basket
- £4.50 inc VAT & Free Delivery
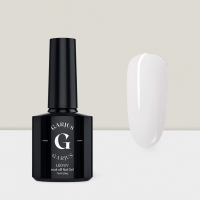
Milky 056
-
Quick View
- Add to basket
- £4.50 inc VAT & Free Delivery
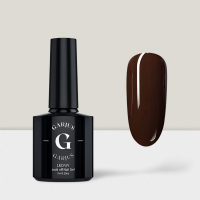
Chocolate 040