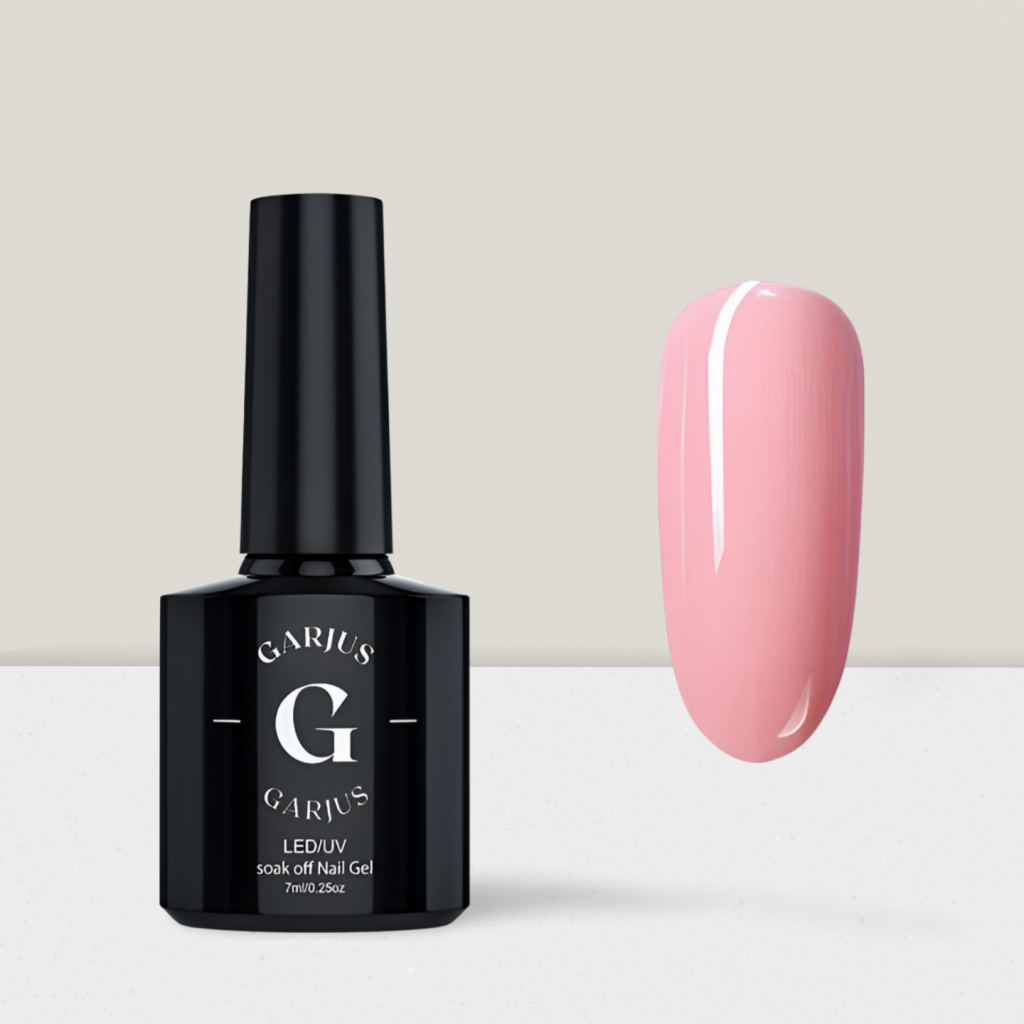
Ready for Perfect Gel Nails? Dive into Your
Step-by-Step Guide to Perfect Gel Nail Application and Achieve a Professional Finish at Home
Introduction
Gel nails have a certain allure. The glossy, long-lasting finish appeals to many, promising durability and an immaculate look. Achieving professional results at home might seem daunting, but with the right guide, it’s entirely possible.
The Benefits of Gel Nails
Gel nails boast a long-lasting shine and durability, often outlasting traditional nail polish by weeks. Unlike acrylics, gel nails are a healthier option, causing less damage to your natural nails. Furthermore, they are a cost-effective beauty solution, saving you frequent trips to the salon.

Gathering Your Supplies
To begin your gel nail journey, gather essential tools: a gel base coat, gel polish, top coat, LED or UV lamp, nail file, buffer, cuticle pusher, lint-free wipes, and isopropyl alcohol. Opt for recommended brands known for quality. Create a clean, well-lit workspace to ensure precision.
Prepping Your Nails
Start with clean nails, as remnants of old polish can hinder the process. Use a gentle remover to eliminate any old polish. Shape your nails to your desired style, whether it’s square, round, or almond. Buff the surface lightly to remove shine, promoting better adhesion of the gel polish.
Cuticle Care
Cuticle care is crucial. Properly pushed back cuticles prevent lifting and enhance the overall appearance. Use a cuticle pusher and a softener if needed. Healthy cuticles contribute to a neater application and longer-lasting results.

Applying the Base Coat
Select a high-quality base coat. Apply a thin, even layer, avoiding the skin and cuticles. Cure under an LED or UV lamp as per the product instructions. This layer is essential as it primes the nails for the gel polish.
Applying the Gel Polish
Choose your gel polish colour. Apply thin layers to prevent bubbling and ensure smooth curing. Cap the free edge of each nail to prevent chipping. Cure each layer thoroughly under the lamp to set the colour.
Building Up the Colour
Typically, two to three coats are ideal for opacity. Ensure each coat is evenly applied. If mistakes occur, use a small brush dipped in alcohol to clean up edges before curing. Patience is key to avoiding streaks and bubbles.
Applying the Top Coat
A good top coat seals the colour and adds shine. Apply a thin layer, ensuring full coverage. Cure under the lamp for the recommended time. This step secures the gel polish, giving it a glossy finish.
Removing the Sticky Layer
After curing the top coat, a sticky residue remains. Use a lint-free wipe soaked in isopropyl alcohol to remove it. This reveals the final, glossy surface, ensuring your nails are smooth and shiny.
Conclusion
In summary, achieving perfect gel nails at home is entirely possible with the right knowledge and tools. Recap the key steps: preparing your nails, applying base, color, and top coats in thin layers, and curing properly. Embrace the learning process and don’t be afraid to experiment with different colors and techniques. With practice, you’ll gain confidence and skill, resulting in beautiful, long-lasting gel nails. Enjoy your new look and the satisfaction of mastering this at-home beauty treatment.