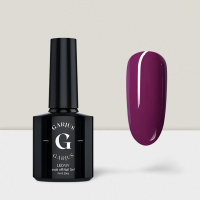
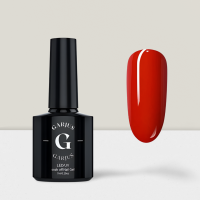
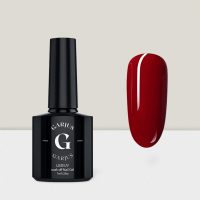
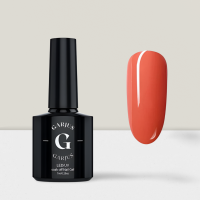
Description
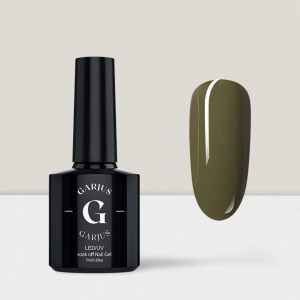
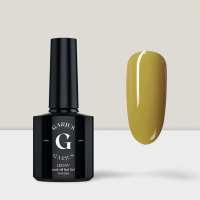
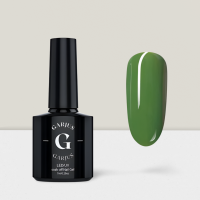
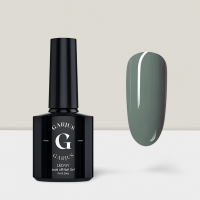
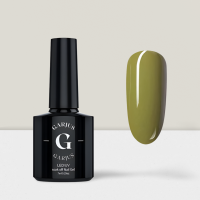
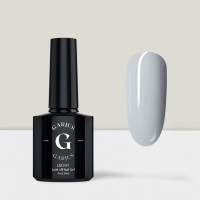
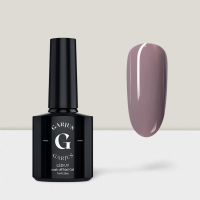
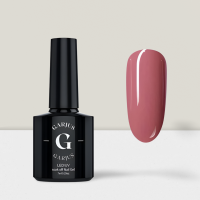
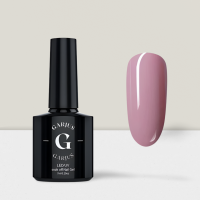
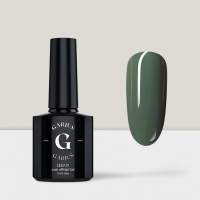
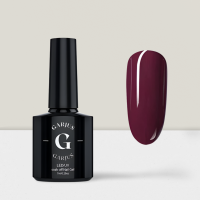
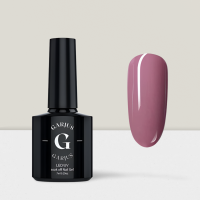
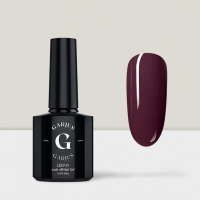
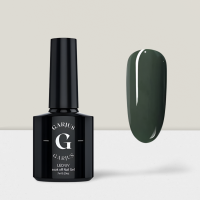
Make a Bold Statement with Army Green 047
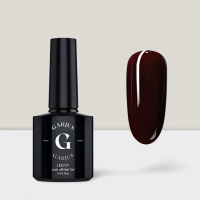
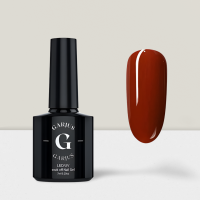
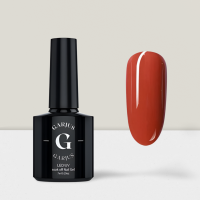
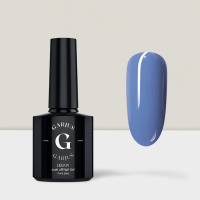
Enhance your manicure game with our army green nail gel polish! This bold color is perfect for those who want to make a statement and stand out from the crowd. Our high-quality gel polish is made to last, ensuring that your army green nails will stay looking perfect for weeks to come.
Long-Lasting and Durable Polish
Our nail gel polish is not only bold, but it is also long-lasting and durable. Say goodbye to chipping, peeling, and fading nails! Our gel polish is made with high-quality ingredients that help your nails stay strong and healthy while providing a stunning army green color.
A Versatile Addition to Your Nail Polish
Collection A a unique colour that can be both bold and subtle depending on how you style it. This makes it a versatile addition to any nail polish collection. Pair it with neutral tones for a more understated look or wear it with bright colors to make a statement. With our army green nail gel polish, the possibilities are endless!
How To Apply Uv/Led Nail Gel Polish
If you want salon-quality, long-lasting manicures, UV/LED nail gel polish is your go-to option. Achieving a professional finish at home is easier than you think. Follow these steps for a flawless gel polish application:
Materials You’ll Need:
- UV or LED nail lamp
- Garjus UV/LED gel base coat
- Garjus UV/LED gel colour polish
- Garjus UV/LED gel top coat
- Nail file and buffer
- Alcohol-based nail cleanser or rubbing alcohol
- Cuticle pusher
- Nail primer (optional)
- Nail polish remover
- Cotton balls or pads
Step 1: Prep Your Nails Start with clean, dry nails. Use nail polish remover to eliminate any residue from previous polish. Push back your cuticles gently with a cuticle pusher. Shape your nails using a file and smooth the surface with a buffer for better adhesion.
Step 2: Apply Primer (Optional) For some brands, applying a nail primer before the base coat can enhance adhesion and extend wear. Check your gel polish instructions to see if this step is recommended.
Step 3: Apply the Base Coat Apply a thin layer of UV/LED gel base coat to each nail, making sure to cap the free edge (the tip) of your nails. This helps prevent chipping. Avoid getting the base coat on your skin. If any gel gets on your skin, wipe it off before curing.
Step 4: Cure Under the Lamp Place your nails under a UV or LED lamp for the recommended curing time. Typically, LED lamps cure in 30-60 seconds, while UV lamps take 2-3 minutes. Refer to your gel polish instructions for precise times.
Step 5: Apply the First Layer of Color Apply a thin layer of your chosen UV/LED gel color polish. Be precise and avoid contact with your cuticles and skin. Cap the free edge. Cure the polish under the lamp for the recommended time.
Step 6: Apply Additional Layers (If Necessary) For some lighter shades, you might need a second coat for full opacity. Apply another thin layer, cure it, and repeat if necessary.
Step 7: Apply the Top Coat Apply a thin layer of UV/LED gel top coat, ensuring you cap the free edge as well. Cure it under the lamp for the recommended time.
Step 8: Remove the Sticky Layer After curing the top coat, you might notice a sticky layer on your nails. Don’t worry; this is normal. Soak a cotton ball or pad in alcohol-based nail cleanser or rubbing alcohol and wipe each nail to remove the sticky residue. Your nails will be left with a glossy finish.
Step 9: Moisturise Your Cuticles Apply cuticle oil or moisturiser to nourish your cuticles and surrounding skin.
Your UV/LED gel polish manicure is now complete! Enjoy chip-free, long-lasting, and glossy nails for up to two weeks. Remember to always follow the instructions provided by your specific gel polish brand for the best results.
Additional information
| Colour |
|---|


