In stock
£4.50 inc VAT & Free Delivery
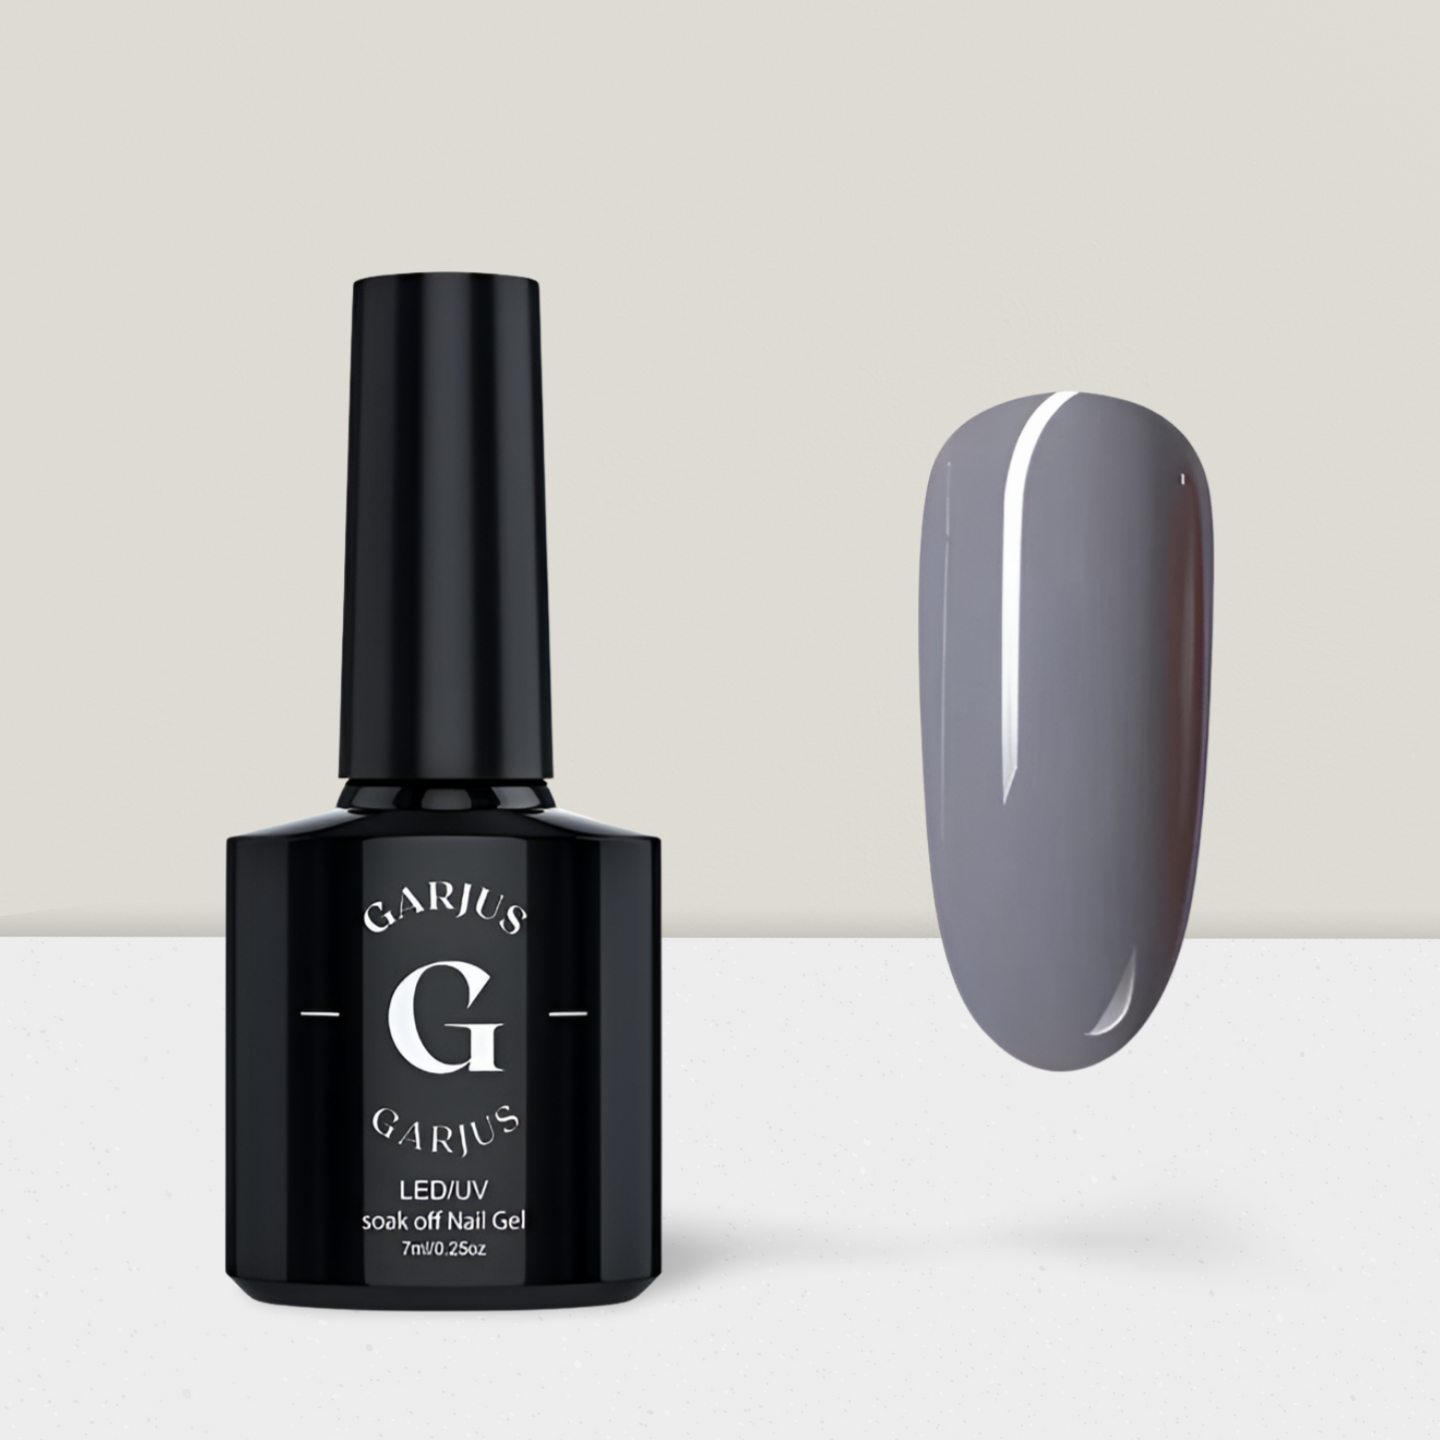
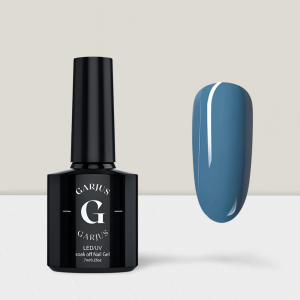
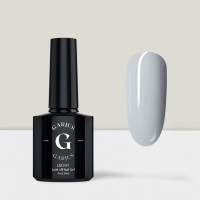
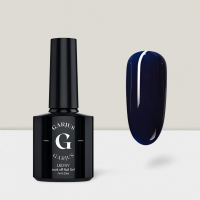
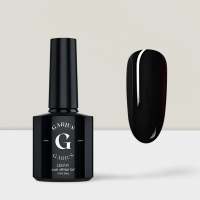
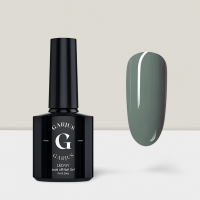
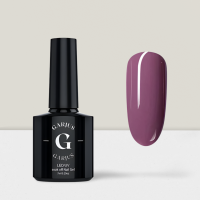
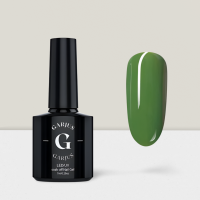
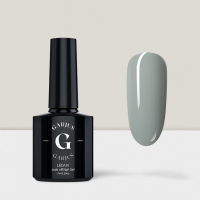
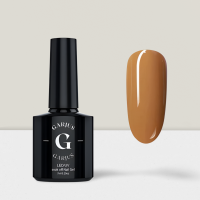
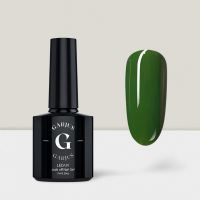
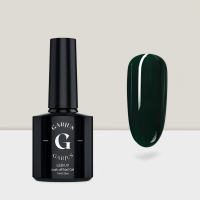
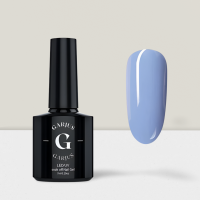
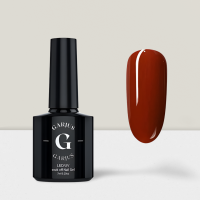
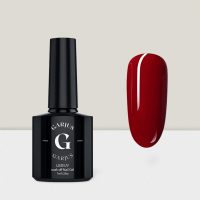
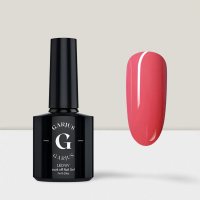
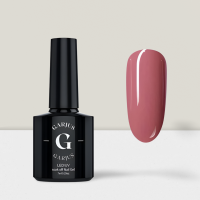
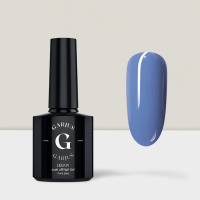
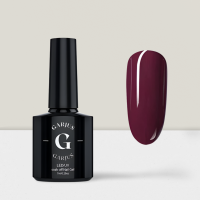
Elevate your manicure with Retro Blue Green Nail Gel Polish. Our high-quality gel polish formula offers long-lasting wear and chip resistance, ensuring your nails exude the captivating allure of this unique blend of retro blue and green. Express your unique style with this versatile color, perfect for crafting creative and enduring nail art designs. Shop now and embrace nostalgic elegance that lasts up to two weeks.
Retro Blue Green 089
CompareDescription
Retro Blue Green Nail Gel Polish 089 – Embrace Nostalgic Elegance
Retro Blue Green Nail Gel Polish invites you to embrace nostalgic elegance with its unique shade. This color captures the essence of retro aesthetics, blending the timeless charm of blue and green hues. It exudes a sense of vintage sophistication with a modern twist. Our gel polish formula ensures a smooth and even application, delivering a flawless finish that embodies the captivating allure of retro blue green. This gel polish is the ideal choice for individuals seeking a manicure that reflects a blend of past and present elegance.
Long-Lasting and Chip-Resistant
Our Retro Blue Green Nail Gel Polish is meticulously crafted with a high-quality formula that offers long-lasting wear and chip resistance. This gel polish is designed to maintain its vintage-inspired beauty for up to two weeks without chipping or fading, providing a low-maintenance and enduring manicure. With Retro Blue Green Nail Gel Polish, you can enjoy the timeless and sophisticated vibe of this unique shade without the need for constant touch-ups. Your nails will radiate confidence and elegance for an extended period.
Versatile Shade for Creative Nail Art
Retro Blue Green Nail Gel Polish is a versatile shade that inspires creative nail art creations. Whether you prefer intricate patterns or bold accents, this unique color serves as a perfect canvas for various nail art styles. The blend of blue and green hues adds a touch of vintage charm and versatility to your designs, making it an ideal choice for expressing your unique style. Unlock your creativity and craft artistic nail art with Retro Blue Green Nail Gel Polish.
How To Apply Uv/Led Nail Gel Polish
If you want salon-quality, long-lasting manicures, UV/LED nail gel polish is your go-to option. Achieving a professional finish at home is easier than you think. Follow these steps for a flawless gel polish application:
Materials You’ll Need:
- UV or LED nail lamp
- Garjus UV/LED gel base coat
- Garjus UV/LED gel colour polish
- Garjus UV/LED gel top coat
- Nail file and buffer
- Alcohol-based nail cleanser or rubbing alcohol
- Cuticle pusher
- Nail primer (optional)
- Nail polish remover
- Cotton balls or pads
Step 1: Prep Your Nails Start with clean, dry nails. Use nail polish remover to eliminate any residue from previous polish. Push back your cuticles gently with a cuticle pusher. Shape your nails using a file and smooth the surface with a buffer for better adhesion.
Step 2: Apply Primer (Optional) For some brands, applying a nail primer before the base coat can enhance adhesion and extend wear. Check your gel polish instructions to see if this step is recommended.
Step 3: Apply the Base Coat Apply a thin layer of UV/LED gel base coat to each nail, making sure to cap the free edge (the tip) of your nails. This helps prevent chipping. Avoid getting the base coat on your skin. If any gel gets on your skin, wipe it off before curing.
Step 4: Cure Under the Lamp Place your nails under a UV or LED lamp for the recommended curing time. Typically, LED lamps cure in 30-60 seconds, while UV lamps take 2-3 minutes. Refer to your gel polish instructions for precise times.
Step 5: Apply the First Layer of Color Apply a thin layer of your chosen UV/LED gel color polish. Be precise and avoid contact with your cuticles and skin. Cap the free edge. Cure the polish under the lamp for the recommended time.
Step 6: Apply Additional Layers (If Necessary) For some lighter shades, you might need a second coat for full opacity. Apply another thin layer, cure it, and repeat if necessary.
Step 7: Apply the Top Coat Apply a thin layer of UV/LED gel top coat, ensuring you cap the free edge as well. Cure it under the lamp for the recommended time.
Step 8: Remove the Sticky Layer After curing the top coat, you might notice a sticky layer on your nails. Don’t worry; this is normal. Soak a cotton ball or pad in alcohol-based nail cleanser or rubbing alcohol and wipe each nail to remove the sticky residue. Your nails will be left with a glossy finish.
Step 9: Moisturise Your Cuticles Apply cuticle oil or moisturiser to nourish your cuticles and surrounding skin.
Your UV/LED gel polish manicure is now complete! Enjoy chip-free, long-lasting, and glossy nails for up to two weeks. Remember to always follow the instructions provided by your specific gel polish brand for the best results.
